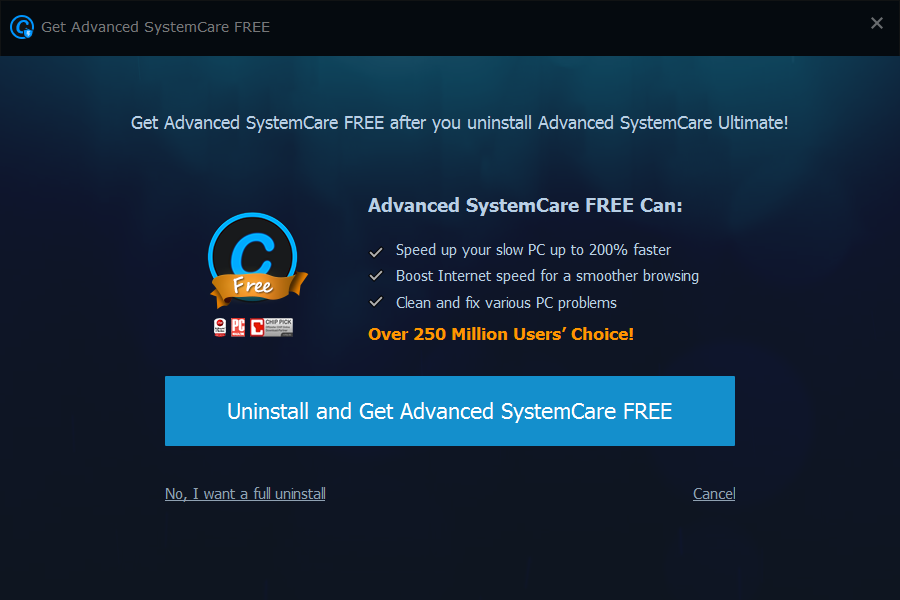
Uninstall Advanced SystemCare Ultimate 9 - Effective Guides for Advanced SystemCare Ultimate 9 Uninstall
Advanced SystemCare Ultimate 9 is the trial products provided by Iobit Security lab, which is famous for providing users with world-class malware removal services. Advanced SystemCare Ultimate 9 is equipped with a list of professional, ultra-powerful and advanced features as well as tools that are advertised to help all levels of PC users stay away from perilous cyber threats. But it is found out that there still exists a large number of its users choose to uninstall this so-called powerful antivirus program in terms of its vulnerabilities. Why types of problems make people attempt to fully uninstall it?
- The associated processes of Advanced SystemCare Ultimate 9 take a long time to load on the system.
- There still exists traces of malware on the system after you make a deep scan for the system through the help of Advanced SystemCare Ultimate 9.
- Advanced SystemCare Ultimate 9 suffers an irreparable damage because of undesirable modification over system security settings.
- The upgrade notification of Advanced SystemCare Ultimate 9 bombards the PC screen.
- The shortcuts of Advanced SystemCare Ultimate 9 cannot be found on the desktop.
- The current version of Advanced SystemCare Ultimate 9 fails to download the update files.

Disastrous System Problems Caused by the Unneeded Advanced SystemCare Ultimate 9
- The overall system performance frequently reduces once certain parts of Advanced SystemCare Ultimate 9 start to run at the background of the system.
- There exists irremovable files on the system, which come from suspicious online resources.
- System performance is frequently intercepted by unpredictable system pops-up as well as Blue Screen of Death error messages.
- Trusted third-party programs as well as legit system services couldn’t get activated on the system.
- Other security programs and services installed on the system previously fail to update their database.
- System network running runs into unstoppable interception.
Manually Uninstall Advanced SystemCare Ultimate 9
The manual removal guides for Advanced SystemCare Ultimate 9 require the users to have enough computer experience in terms of its complication. It needs the user to be able to safely modify the value of registry keys and deal with the program files as well as system built-in utility skillfully. Any problems occur during the process are easily to result in a total system disruption. The system performance degrades unexpectedly in terms of the obscure problems occur on the system functions. The manual removal methods listed below only could be used by sophisticated computer users:
Step One:Uninstall Advanced SystemCare Ultimate 9 With Windows Uninstaller
For Windows 7 Users
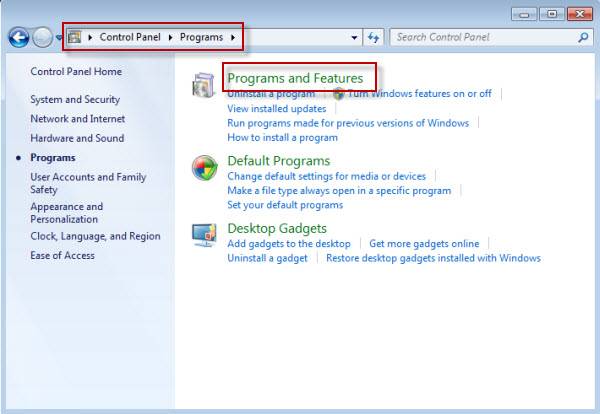
- Click Start, and then go to Control Panel.
- Click Programs, and then go to Programs and Features.
- From the program list, highlight Advanced SystemCare Ultimate 9, click Uninstall Option to start the removal process.
For Windows 8 Users
- Open up the Start screen, right click Advanced SystemCare Ultimate 9 to select it, click on Uninstall in the bar at the bottom.
- Click on Uninstall button in the pop-up box to start the removal task.
- Advanced SystemCare Ultimate 9 has been fully uninstalled from the system now.
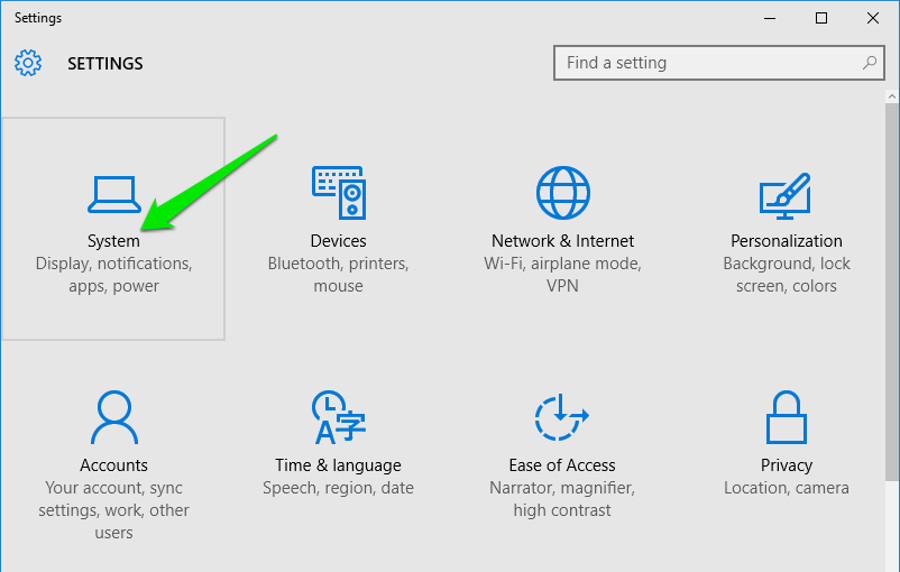
For Windows 10 Users
- Open up the Start menu.
- Select Settings, and then access to Apps & Features.
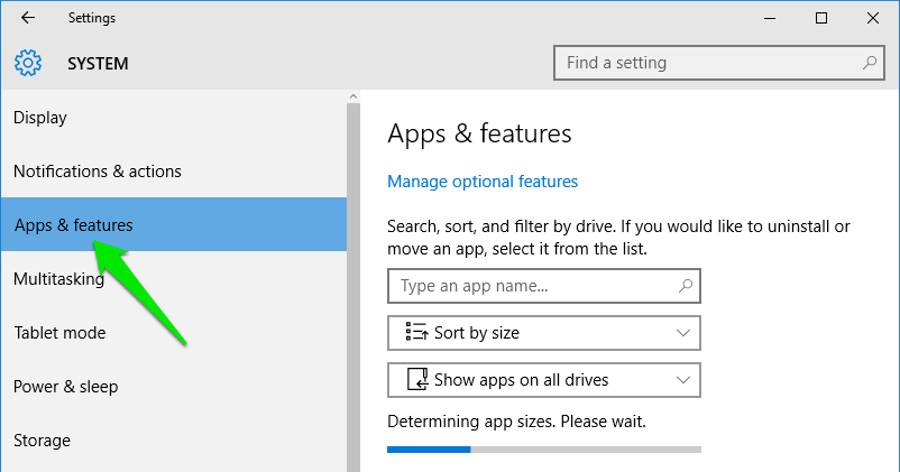
- Select Advanced SystemCare Ultimate 9, and then select Uninstall.
- Follow the popped-up instructions to uninstall Advanced SystemCare Ultimate 9.
Step Two: Get Rid of the Unneeded Registry Files.
The Windows Registry plays a crucial role in the maintenance of Windows Operating System for it stores the entire information of low-level system services as well as third-party applications. Any inaccurate modification happen over Windows registry will generate a variety of disastrous system problems. The manual removal process for registry leftovers of Advanced SystemCare Ultimate 9 needs users to be capable to handle with the Windows registry without mistakes.
Automatic Uninstall Advanced SystemCare 9(Recommended): Fully Uninstall Programs
You can follow the instructions to remove the useless registry components of Advanced SystemCare Ultimate 9:
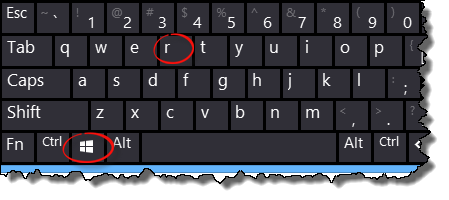
- Press ”Windows+R” button to run the command prompt, type in regedit to activate Registry Editor.
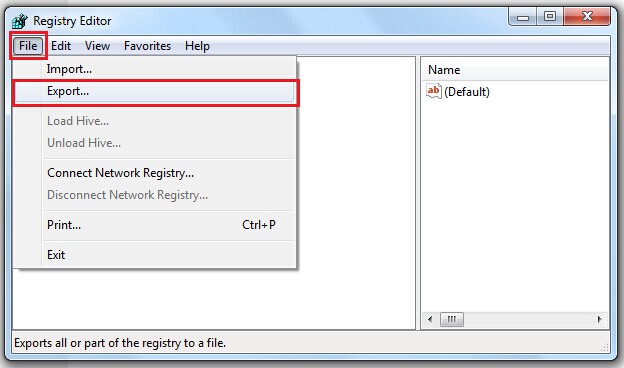
- Click File, click Export. Choose a location from the hard disk to store the backup of the registry files.
- Go back to the Control Panel of Registry Editor, press ”Ctrl+F” button to open up the search utility of Registry Editor, type Advanced SystemCare Ultimate 9 onto the blank, and then press the Enter button.
- Right click the registry keys that have been found out, select Delete option to remove them.
- Click Yes to confirm the removal.
Step Three: Clean Up the Program Files Stored on the Hard Disk.
- Go to This PC, press ”Ctrl+F” to activate the search utility.
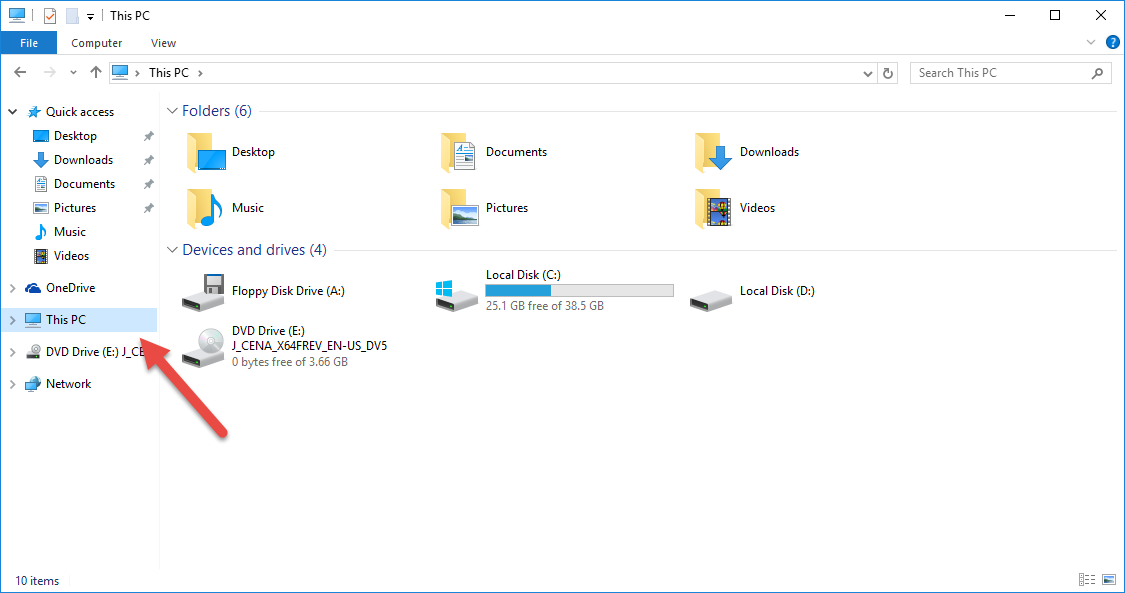
- Type Advanced SystemCare Ultimate 9 onto the latest pop-up, press Enter
- Right click the program folder that has been found, select Delete option to remove it.
- Click Yes to confirm the removal task.
System performance can possibly degrade sharply once users make any mistake during the manual removal process. A variety of system problems may start to bombard the system, such as floods of obscure pops-up, irremovable program files, drive-by downloads from suspicious resources, frequent system freezes and unstable network speed. To safely uninstall Advanced SystemCare Ultimate 9 as well as its associated services, it is suggested to install a trust-worthy and user-friendly program uninstall tool onto the system. With a bundle of advanced features and professional toolkits, Total Uninstaller are empowered by its developers to help each of its users safely, completely and easily uninstall any unneeded programs within minutes. You can follow the instructions below to take advantage of Total Uninstaller to fully uninstall Advanced SystemCare Ultimate 9:
- Make sure the running processes of Advanced SystemCare Ultimate 9 have been disabled.
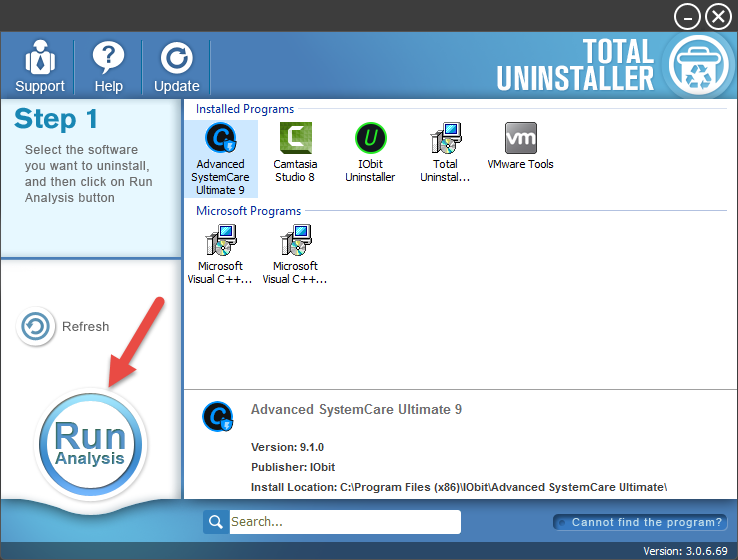
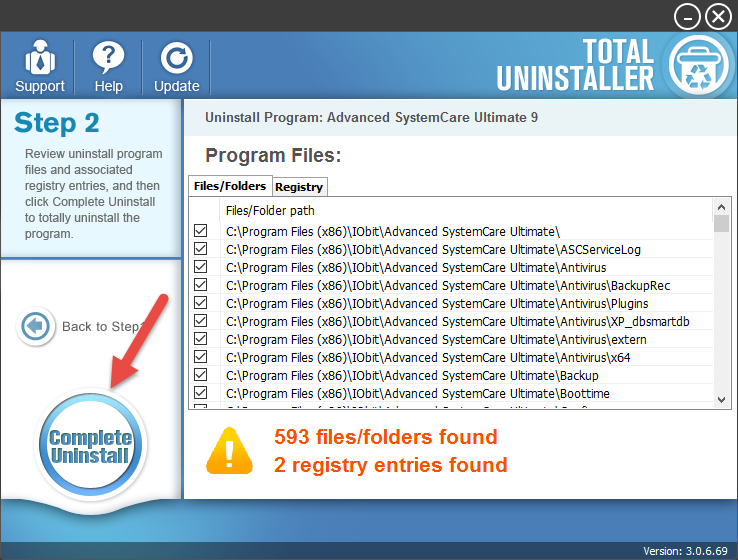
- Activate Total Uninstaller. Locate Advanced SystemCare Ultimate 9 from the program list on the right side, click Run Analysis.
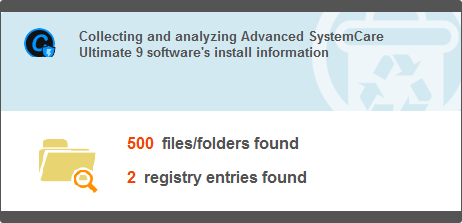
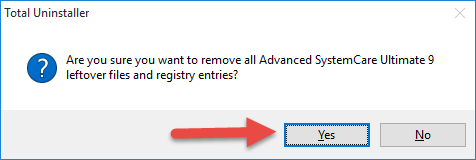
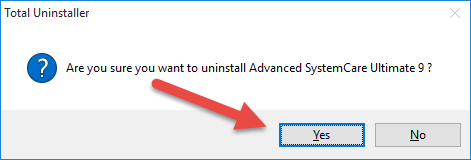
- Click Complete Uninstall to remove the leftovers that have been found. Click Yes to confirm the removal.
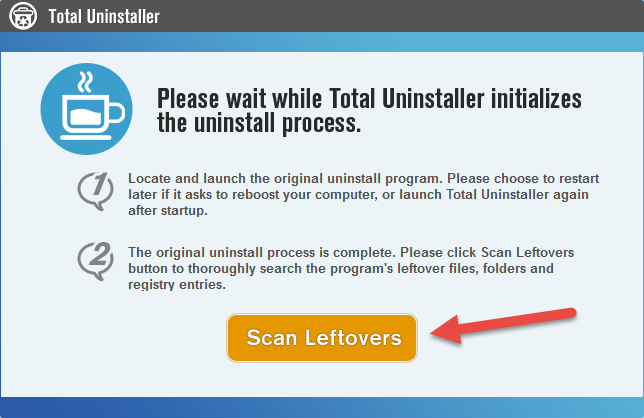
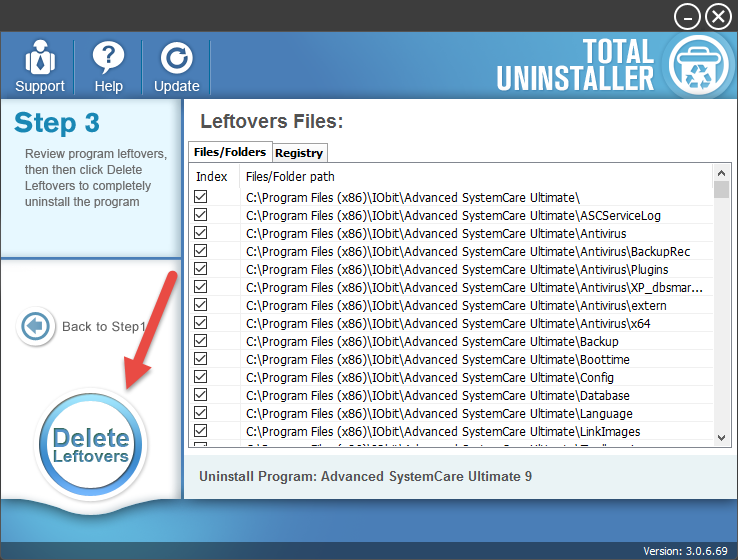
- A pop-up appears and notify users the removal process. Click Scan Leftovers to remove the unneeded files.
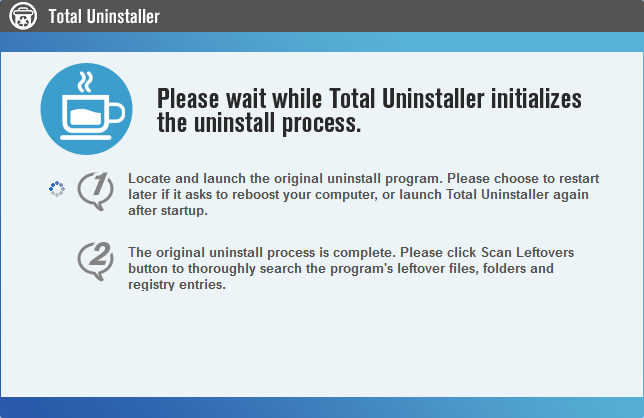
- Once the uninstall confirmation of Advanced SystemCare Ultimate 9 appears on the screen, ignore it.
- Click Delete Leftovers to remove the unneeded files listed on the right side.
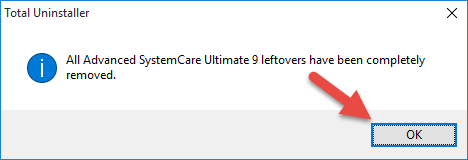
- Click Yes. And then click OK to confirm the modification.